Stageplot Pro Team /
One Tribute Band Stage Plot for Every Room on the Tour
Build one tribute band stage plot that adapts to every stage size and house desk on tour, with fixed priorities, flexible spacing and one clean input list.
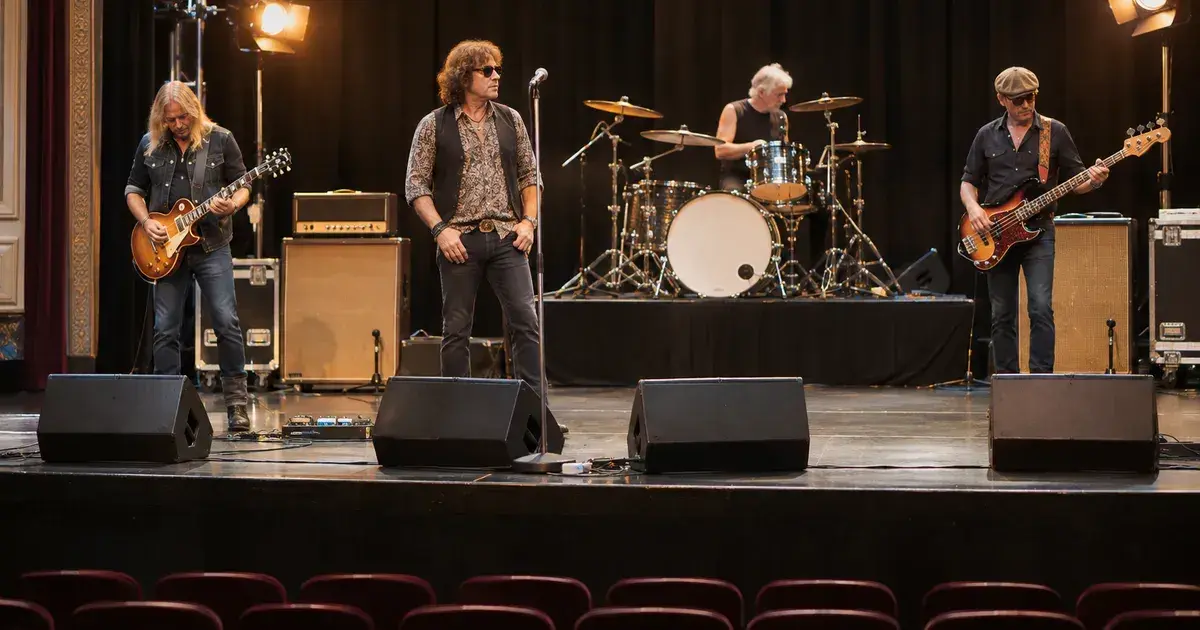
A tribute act on a run of dates rarely plays the same room twice in a week. Monday is a theatre with a proscenium and a deep stage, Wednesday is a casino lounge with a low ceiling, Friday is a social club where the band sets up on a platform barely wider than the drum kit. Each venue has its own crew, its own console and its own idea of what a stage plot should look like. Rebuilding the document for every stop is slow, and it guarantees that version drift eventually sends the wrong plot to the wrong room.
The better approach is a single plot designed to bend without breaking. This article walks through how a musical director or band member can build that document, what to lock down, what to leave flexible, and how to advance it so each house engineer reads it the same way.
Why does a tribute act need one plot instead of one per venue?
One master plot means every crew receives the same priorities, labels and channel order, so nothing gets lost between versions. Bespoke plots per venue multiply the chances that a lineup change, a new DI or a revised monitor request reaches some rooms and not others.
Tribute shows also depend on a recognizable picture. Audiences arrive expecting the front line to look a certain way: the singer in the familiar spot, the guitarist on the expected side, the keyboard rig where the original band kept it. That visual identity is part of what the ticket buys, so it belongs in the core of the plot rather than being renegotiated with every venue. A single document lets you protect that picture while still adapting to the room.
There is a practical benefit for the band too. When the bass player, the drummer and the sound engineer you carry (if you carry one) all work from the same file, there is never an argument at load in about which version is current. If you want a head start on layout, the tribute band stage plot template gives you a front line, backline and monitor positions to edit instead of a blank page.
What should stay fixed on a touring tribute plot?
Keep the performer order, the channel order and the input labels identical at every venue. Those three things are what a house engineer patches from, and changing any of them night to night forces a fresh read of the document every time.
In practice, the fixed layer usually includes:
- The left to right order of performers across the front line, drawn from the performer's view facing the audience.
- The drummer's position relative to the front line, normally upstage centre.
- Every input with its channel number, short name, mic or DI choice and whether it needs phantom power.
- The number of monitor mixes, who each mix is for, and whether each performer is on a wedge or in-ear monitors.
- Power drops for each backline position, noted near the gear that needs them.
- Any playback, click or timecode source, marked clearly so it never ends up in a front wedge.
Stage left and stage right deserve a sentence on the plot itself. Write that directions are from the performer's perspective facing the audience, and put the audience edge at the bottom of the page. A tribute guitarist who has to stand on a particular side to recreate the original band's look will thank you when the wedges arrive on the correct side of the stage.
How do you draw a plot that flexes with stage size?
Draw the layout at a realistic minimum footprint, then mark which gaps can grow. Crews find it far easier to spread a compact plot across a big stage than to squeeze an oversized plot onto a small one.
Start by measuring what your show physically needs. Add up the width of the front line with comfortable spacing between performers, the depth from the downstage edge to the back of the drum kit, and any space for keyboard stands, guitar racks or a quick change position if the show involves costume changes. Write that minimum width and depth on the plot in plain numbers. The stage dimensions guide is useful here for comparing your footprint with typical club, theatre and festival stages before you commit to a layout.
Then add short notes about how the plot scales:
- On a wide stage, spread the front line evenly but keep the drum kit centred behind the singer.
- On a shallow stage, move backline amps to the sides of the kit rather than behind performers.
- If no drum riser is available, the kit plays at floor level; note whether that is acceptable for your show.
- If a riser is available, list the size you actually use so the venue can confirm it fits.
This turns one drawing into a set of instructions. The house crew sees the intended arrangement and also understands which changes keep the show intact. Ask each venue for its actual stage width, depth and ceiling height during the advance, especially if your show uses tall props, backdrops or lighting on stands.
How do you handle a different house desk every night?
Write the input list so it works on any console, then rank the channels so a smaller desk can drop the extras cleanly. The input list, not a console file, is the document that travels reliably between venues.
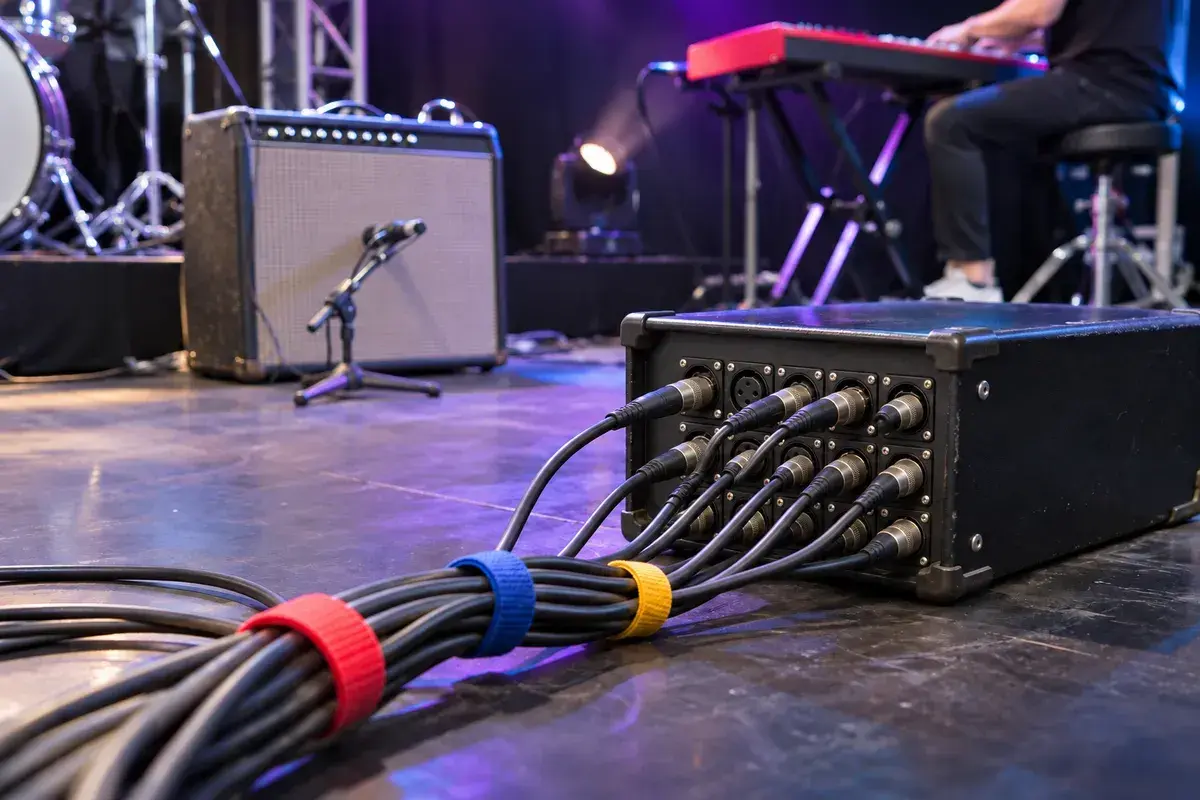
Show files from one console family generally will not load on a different manufacturer's desk, so a tour that crosses several venues cannot count on a saved scene. Instead, build the list around habits that every engineer recognises:
- Keep the conventional order: drums first, then bass, guitars, keys, playback, then vocals.
- Use short, plain names such as
KICK,SNARE,GTR 1,KEYS LandLD VOXso they fit a narrow scribble strip. - Put stereo sources on adjacent channels, left then right.
- Note every DI you bring, so the house knows which boxes it does not need to supply.
- Mark the channels that need 48V phantom power.
The most useful touring habit is a priority line. Number your essential inputs first, so the top of the list is a complete show on its own. A small room with a 16 channel desk can then patch channels 1 to 16 and stop. A tribute act with a big drum kit might list kick, snare and two overheads as core inputs, with toms and hi hat further down as additions when the desk allows. Stereo keys or playback can be listed with a note that a mono sum is acceptable if channels run short.
Keep the input list separate in your head from the monitor mix sheet. The input list tells the engineer what is plugged in. The monitor sheet tells them who needs to hear what. Combining both into one crowded diagram makes each harder to read.
Where should monitors go when the stage changes shape?
Place each wedge where it serves the performer and sits in the microphone's rejection zone, then let the distance change with the stage. The angle between wedge and mic matters more than the exact spot on the floor.
This is a place where mic choice changes the plot. Shure explains that a cardioid microphone is least sensitive directly behind the capsule, while a supercardioid is least sensitive around 126 degrees off axis, so its wedge should sit to either side of the mic stand rather than straight in front of the singer (Shure: microphone polar pattern basics). If your lead vocalist uses a supercardioid model, draw the wedge pair angled accordingly and say why in a short note. A house engineer at an unfamiliar venue will often default to one wedge dead centre unless the plot shows otherwise.
On a cramped stage, wedges end up closer to mics and to each other, which raises the risk of feedback. Two adjustments help. First, list the minimum number of mixes the show can run on, in case a small venue has fewer monitor sends than you would normally use. Second, if part of the band is on in-ear monitors, note which performers have no wedge at all so the crew does not lay out speakers you will never use.

What does the advance email for each venue need?
Send the same master plot and input list to every venue, plus a short note covering what you need confirmed for that specific room. The attachments stay identical; only the questions change.
A useful advance for a touring tribute act asks the venue to confirm:
- Stage width, depth and ceiling height, plus whether a drum riser exists and its size.
- The console's channel count and the number of monitor sends available.
- How many wedges the house provides and whether they are powered.
- Power outlet locations on stage and how many separate circuits are available.
- Load in access, time and the distance from the dock or door to the stage.
- Whether there is a safe area near the stage for costume changes or prop storage.
Send this a week or more before the show if you can, and earlier for theatres that schedule crew days ahead. A venue that has the information early can flag problems while there is still time to solve them, such as a stage too shallow for your riser or a desk short on channels. Keep a short list of each room's answers in your own notes, so repeat bookings on future tours start from facts instead of memory.
How do you keep the plot current across a long run?
Treat the master plot as the only source of truth, date every revision, and update it the moment anything changes. A plot that lags behind the band is worse than none, because it gives crews confidence in wrong information.
Tribute acts change more than people expect. A dep covers a tour leg, a keyboard player swaps a vintage instrument for a lighter modern board, a costume change adds a second guitar to the rack. Each of those should change the plot and input list the same day. Whatever format you send, put the revision date on it and resend to every venue still ahead on the route, so nobody patches from the copy you sent a month ago.
After each show, take two minutes to note anything the crew struggled with. Maybe the wedge note confused them, or a channel name did not fit the desk. Fix the master document rather than writing a workaround in the next email. Over a long run, those small corrections turn a decent plot into one that crews can patch from without a single question.
One accurate plot, sent early and kept current, does more for a touring tribute act than a different drawing for every room.
Start with the layout your show actually uses, test it against the smallest stage on your route, and send the same document to every venue on the tour.
Frequently asked questions
- Should a tribute band send a different stage plot to each venue?
- Usually not. Send one master plot and input list to every venue and add room-specific questions in the advance email. Notes on the plot explain how the layout scales to a smaller or larger stage, so you avoid maintaining several versions that drift apart.
- How do I fit a large tribute show onto a small stage?
- Draw the plot at your real minimum footprint and mark which gaps can shrink. Move amps beside the drum kit rather than behind performers, note whether the kit can play without a riser, and rank your inputs so a small desk can patch the essential channels first.
- Can I send my console show file instead of an input list?
- Only if you know the venue has the same console family, and even then an input list should travel with it. Show files generally do not transfer between different manufacturers' desks, while a clear input list works on any console.
- What stage plot details matter most for a tribute act specifically?
- The performer positions that recreate the original band's look, any playback or click sources, costume change space, and props or backdrops that affect stage depth or ceiling height. These are the details a house crew cannot guess from a generic band layout.