Stage Plot Pro Team /
Why Your Band Needs a Stage Plot Before Every Single Gig
Stage plots are not paperwork theater. A clear diagram cuts load-in time, stops channel guessing, and gets your monitor mix right before soundcheck starts.
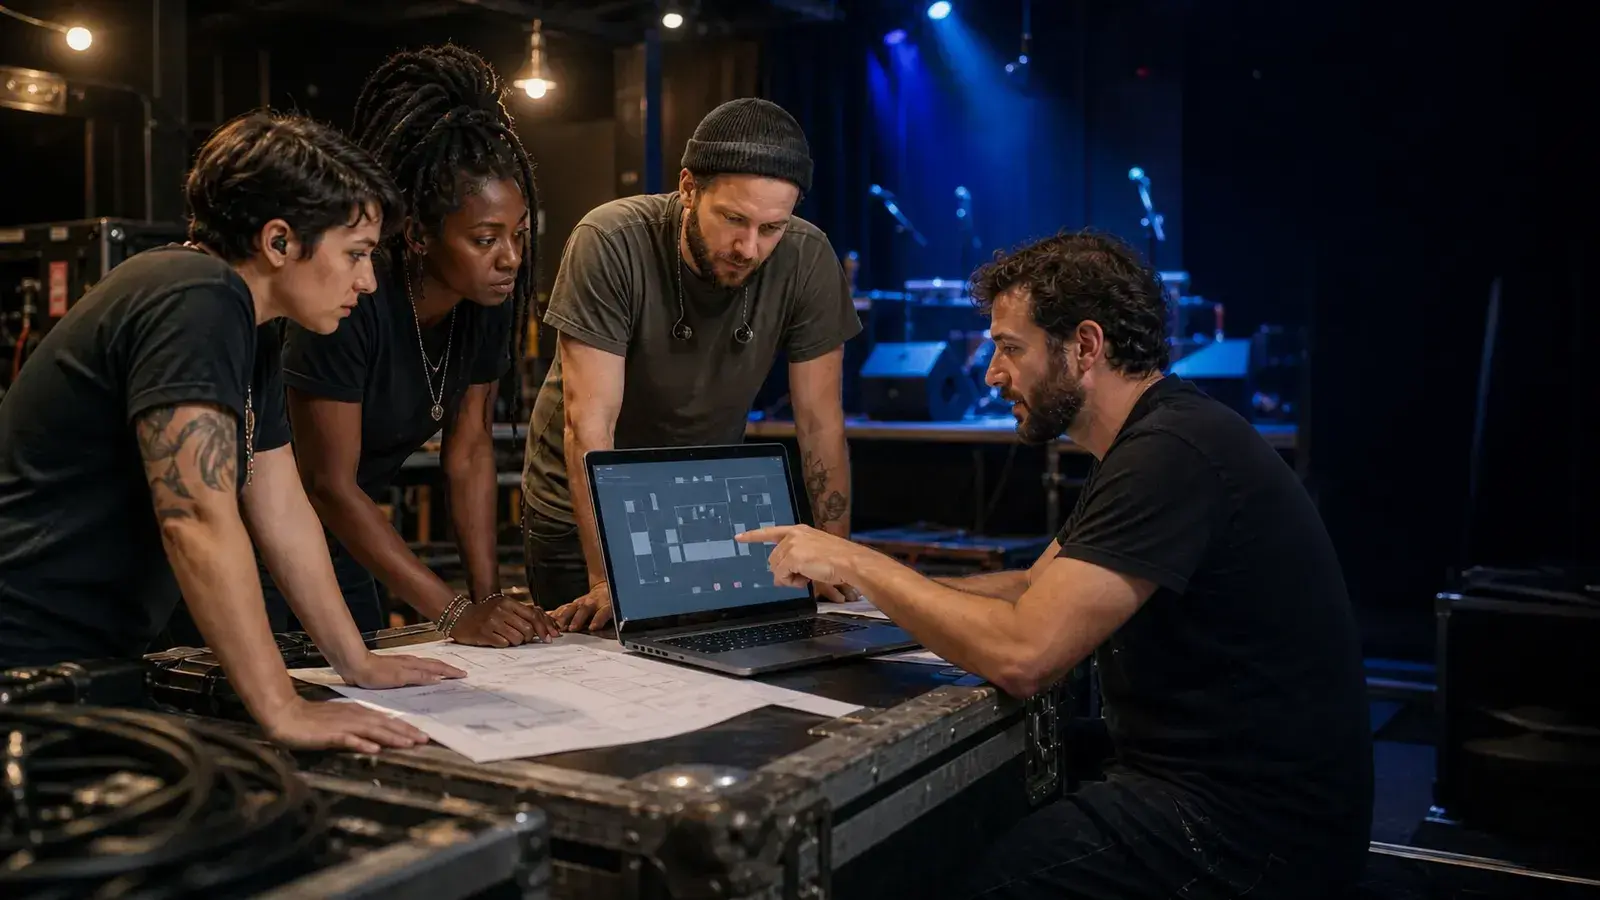
The gig where nobody knew where anything went
We have all played the room where the stage manager hands you a wireless mic
five minutes before doors, the engineer has never met your band, and your
drummer is pointing at a spot on the riser arguing with the monitor tech about
whether the kick goes stage left or stage right. That gig runs forty minutes
long, the opener eats into your set, and the mix never really recovers. None
of that is a sound problem. It is a planning problem, and it is the exact
problem a stage plot exists to solve.
What a stage plot actually fixes
A stage plot is a top down diagram of your band on stage: every performer
position, every amp, every mic, every monitor wedge. Paired with an input
list, it tells the house engineer three things before you ever touch a cable:
how many channels you need, what type of signal is coming down each one, and
where on stage that signal physically sits. Engineers patch from a stage
plot, not from memory or a shouted conversation across the room. Hand them
one on paper or as a link and load in stops being a guessing game.
The other thing a stage plot fixes is monitors. If the plot shows four
wedges and marks who gets which mix, the monitor engineer is dialing in
sends before you finish tuning instead of chasing "more me" requests during
your first song. That is the difference between a fifteen minute soundcheck
and a forty minute one, and on a shared bill, that time is not yours to
spend twice.
The real cost of skipping it
We have talked to enough working bands to know the failure mode is always
the same. Someone emails a blurry photo of a handwritten stage plot from
2019, half the band has swapped gear since then, and the engineer builds a
patch based on guesswork. A DI box gets treated as its own channel instead
of being paired with the instrument feeding it. A vocal mic gets patched to
the wrong channel strip because two singers share a stand. None of this is
the engineer's fault. They are working from bad information, and bad
information at load in becomes lost time at soundcheck.
Start from a template instead of a blank page
You do not need to draw this from scratch. Stage Plot Pro ships with real
templates built around common band lineups, so you can start from something
close to your actual setup and adjust it in minutes. A five piece rock
band template already has
drums, bass, two guitars, and a lead vocal placed in a sensible layout. An
eight piece wedding band
template accounts for a horn section and a rhythm section without you
guessing where the trumpet player should stand relative to the monitor
wedges. Drop your gear in, adjust positions to match your real stage, and
the input list builds itself from what you placed. If you want the full
walkthrough on what belongs on a plot and why, our guide to what a stage
plot is covers the basics, and how to make
a stage plot walks the build process
step by step.
Get one your engineer can actually use
A stage plot only works if it reaches the right person before load in, in a
format they can actually read at a glance. That means clean labeling, a
readable input list on the same page or the next one, and no hand drawn
boxes that leave the engineer guessing what an icon means. Build yours in
the Stage Plot Pro editor, export a clean PDF, and send the
link to the venue before you ever pull into the parking lot. It takes less
time than the argument about where the kick goes.
A real-world production scenario
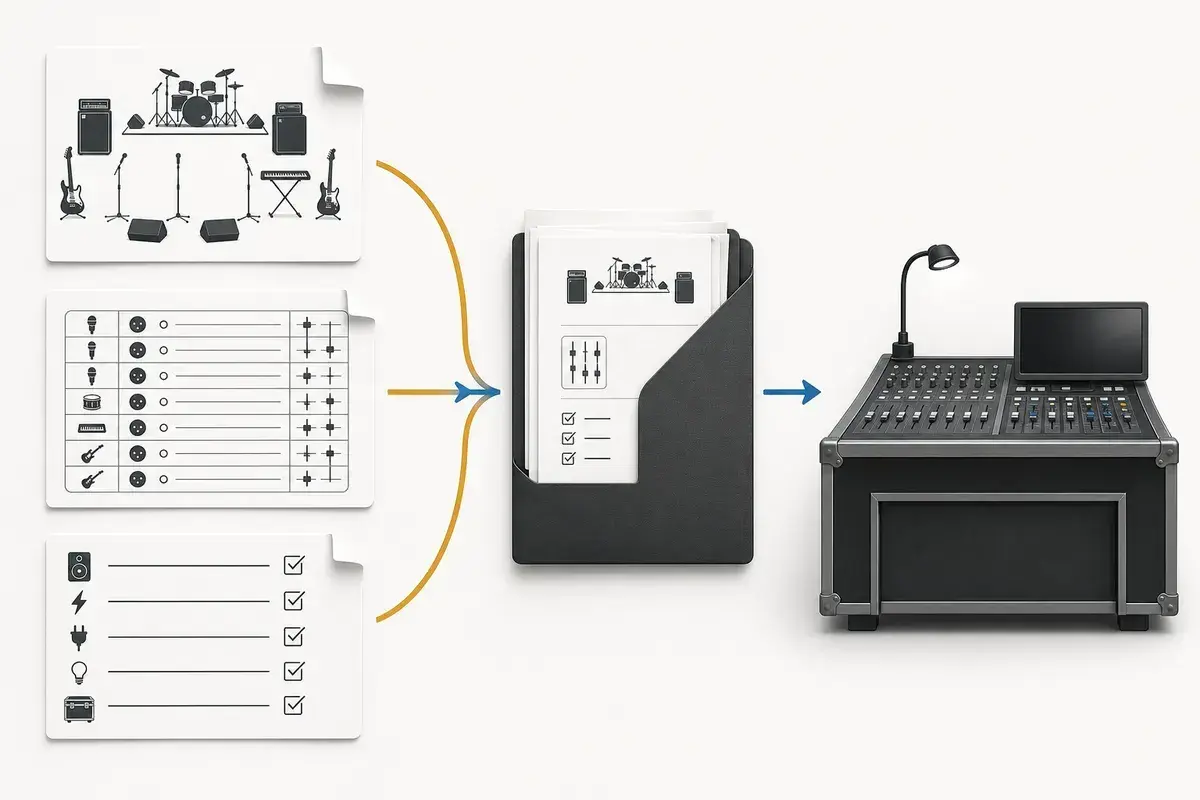
A stage plot is the bridge between a band’s mental picture and the venue’s physical preparation. Without it, the crew learns the lineup by opening cases and asking questions while the changeover clock is running. The plot gives production a head start on stage-box placement, microphone stands, DI count, monitor positions, power access, risers, and clear paths for people and gear.
A repeatable workflow
- Build one master plot from the current lineup and current gear, not a historical rider.
- Create venue-specific revisions when the stage, backline, monitor system, or lineup changes materially.
- Pair the overhead placement map with an input list that counts every physical source separately.
- Use revision dates and filenames that make the newest document obvious in an email thread.
- Archive old versions instead of editing an unlabeled copy that can resurface later.
The order matters. It moves from known facts to local decisions and leaves the room-dependent work with the people who can hear and inspect the system. Skipping directly to preferences is how a polished document becomes difficult to execute.
Decisions to settle before the show
- Which items show physical placement and which belong only in the technical rider?
- Does the plot reflect what the band brings or what it hopes the venue supplies?
- Are stereo, playback, and monitor-only sources counted honestly?
- What changes between the club, festival, fly-date, and reduced-lineup versions?
If an answer depends on the venue, write the question and the preferred solution instead of presenting an assumption as a requirement. That gives production something concrete to confirm and prevents avoidable surprises at load-in.
Make the handoff unambiguous
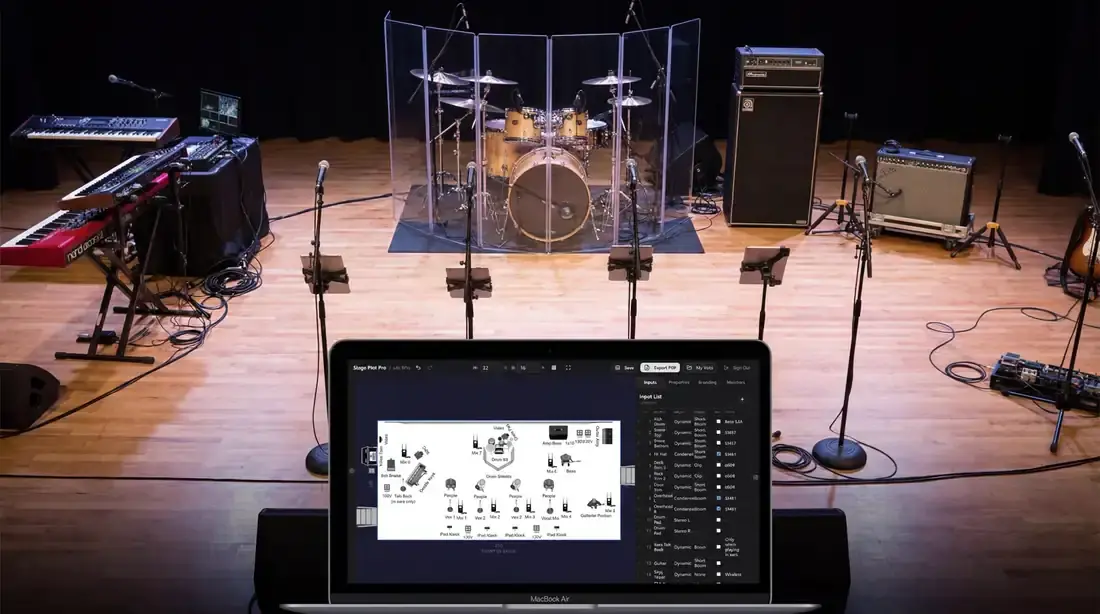
A good plot lets a technician answer practical questions without calling the band: where does the drum riser go, how many vocal stands are needed, where does the keyboard DI land, and which performer uses each wedge? When the plot and input list answer those questions together, load-in becomes execution instead of discovery.
The final package should survive a quick read on a phone, a printed copy at the stage rack, and a conversation over intercom. Use current filenames, readable labels, and the same terminology everywhere. When the documents disagree, the crew has to stop and discover which version reflects the real show.
Prove the plan before load-in
Do a tabletop check with someone who did not build the document. Give them two minutes and ask them to explain the physical setup, count the required inputs and outputs, identify artist-supplied gear, and point to the first likely production question. Do not coach them through it. Every pause exposes a label, assumption, or missing relationship that will also slow a venue crew.
Then trace the workflow in signal-flow order. Start with the source, follow the connection to the stage input, confirm the console channel or destination, and finish at the required PA, monitor, recording, or show-control output. This catches a different class of mistake than proofreading. A document can be spelled perfectly while describing an impossible or incomplete route.
Control revisions like production equipment
Keep one master version, create deliberate venue-specific copies, and place the revision date where it remains visible after printing or separating pages. A descriptive filename with the band name, document type, and ISO date is easier to trust than a file called final-v2-new. When a last-minute change is unavoidable, state exactly what changed in the email instead of forcing production to compare two PDFs.
After the show, update the master only when the change will travel. A one-night local substitution belongs in the venue notes; a new keyboard, vocalist, playback output, or monitor system belongs in the master. That discipline keeps useful local compromises from quietly becoming false requirements on every future date.
Final preflight checklist
- Confirm the lineup, stage orientation, source count, monitor count, and ownership of all artist-supplied equipment.
- Compare the plot, input list, and rider for the same names and revision date.
- Identify substitutions and fallbacks before they become time-critical.
- Open every exported file once and check that text, images, and page breaks remain readable.
- Send one technical contact who can answer production questions promptly.