Basics
What Is a Stage Plot and Why Every Gigging Band Needs One
A plain English guide to what a stage plot is, what belongs on it, and how a clear diagram saves your band time and stress at every load in and every gig.
By Stageplot Pro Editorial Team Updated
What a stage plot is
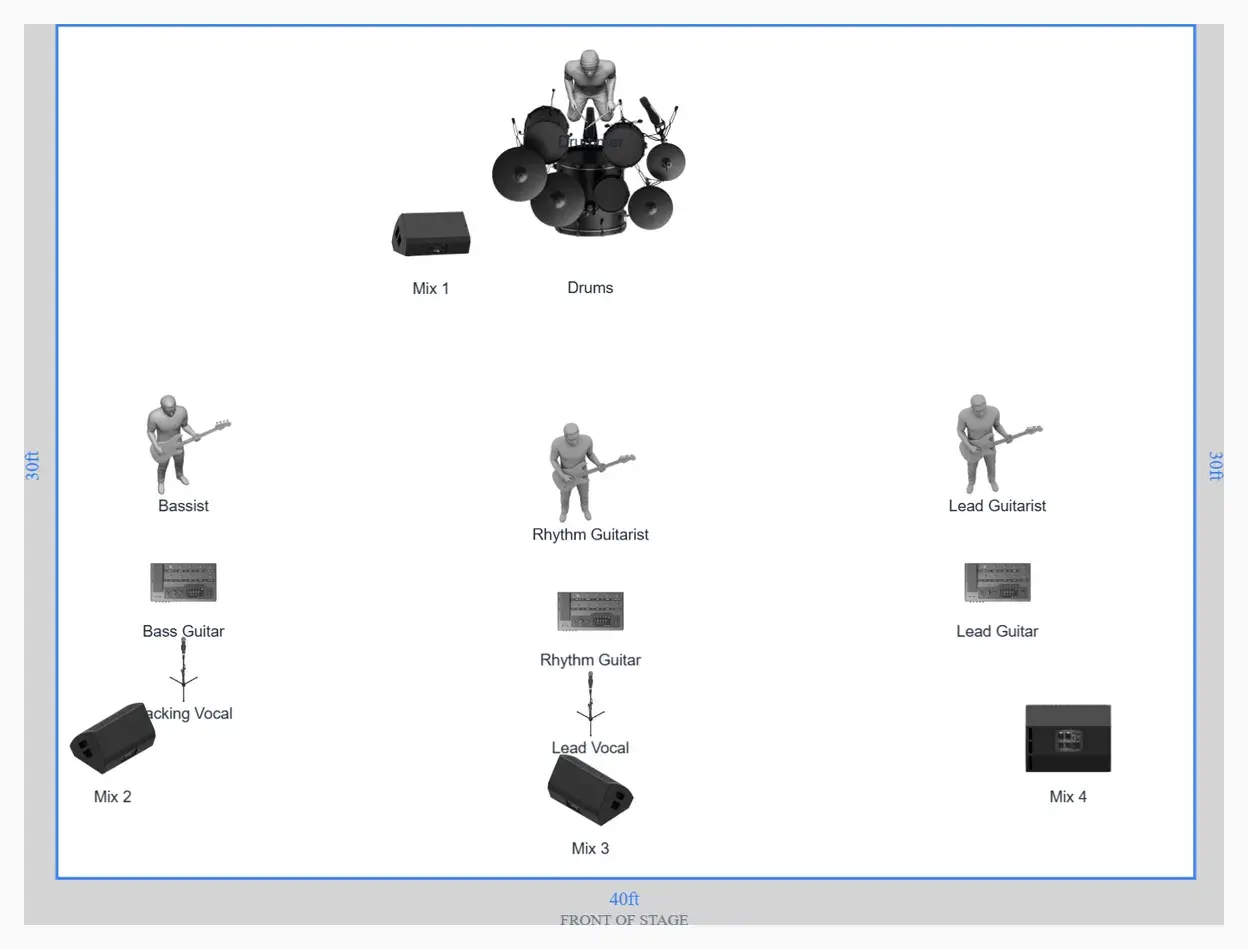
A stage plot is a bird's-eye diagram of a live performance setup. It shows the venue and production crew where performers stand, where instruments and amplifiers sit, which sources need microphones or direct boxes, and where each monitor mix belongs. You may also hear it called a stage plan, band stage diagram, or stage layout.
The document is operational, not decorative. A stage manager should be able to look at it before you arrive and place the drum kit, backline, vocal mics, monitor wedges, risers, and cable paths in approximately the right positions. During load-in, the sound engineer should be able to compare the diagram with your input list and patch the stage without translating a paragraph of notes.
| Question | Answer |
|---|---|
| Point of view | Top-down, as if the ceiling were removed |
| Orientation | Stage left and right are from the performer’s perspective |
| Primary readers | Sound engineer, stage manager, venue technician, promoter |
| Companion document | Input list or channel list |
| Best delivery | A dated PDF plus a shareable link to the current version |
What belongs on it
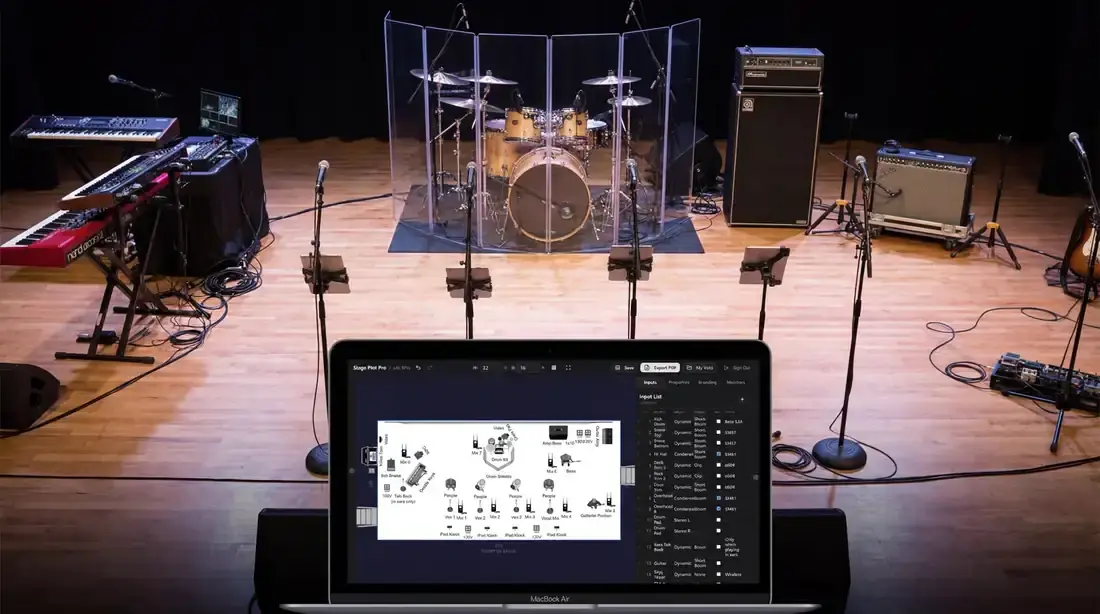
A professional plot includes only information the crew can act on. At minimum, show:
- Every performer position and a readable name or role
- Drum kit, keyboards, amplifiers, DJ or playback rigs, and other backline
- Every microphone and DI location
- Monitor wedges, IEM positions, and the mix number assigned to each performer
- Risers, stools, music stands, pedalboards, laptops, and unusually large cases
- Stage width and depth when space is important
- The audience-facing edge plus clear stage-left and stage-right orientation
- Band name, contact, date, venue, and document version
Do not use the plot as a replacement for an input list. Channel numbers, microphone models, phantom power, stand types, and patch notes become difficult to read when they are crowded around icons. Keep the layout visual, then put the channel-by-channel details in a matching input list.
Stage plot versus input list versus technical rider
These documents overlap, but they are not interchangeable.
| Document | Job |
|---|---|
| Stage plot | Shows physical positions and the layout of the stage |
| Input list | Maps every audio source to a numbered console channel |
| Technical rider | Packages the plot and input list with backline, PA, power, staffing, and production requirements |
For a small club show, a plot and input list may be enough. For a festival, theatre, fly date, or production with supplied backline, send a complete technical rider and keep the plot near the front.
Who uses the stage plot
The front-of-house engineer uses it to estimate channel count, stage-box placement, cable runs, and microphone requirements. The monitor engineer uses it to associate mixes with performer positions. The stage manager uses it to place risers and backline before the changeover. The venue or promoter uses it to confirm that your lineup fits the room and that requested equipment exists.
That is why a plot built only for the band often fails. The document needs to make sense to someone who has never seen the show.
A practical example
The four-piece example above places drums upstage centre, guitar and bass rigs to either side, and three vocal positions across the downstage edge. Wedges sit in front of the performers they serve. The plot establishes the physical picture; its matching input list would then enumerate kick, snare, toms, overheads, bass DI, guitar mic, and vocals in console order.
If your band fits a common lineup, begin with the closest stage plot template and adapt it. A template is useful only when you remove what you do not carry and add what actually arrives at the gig.
Why it matters
A good stage plot lets production prepare before the van doors open. It reduces questions during load-in, makes channel and monitor mismatches visible before soundcheck, and gives everyone one current reference when the lineup changes.
It also exposes whether the show fits the available stage. A twelve-piece band, six wedges, two keyboard rigs, and horn riser may be technically patchable but physically impossible on a shallow club stage. Discovering that during the advance gives both sides time to redesign the layout.
When to update it
Update the plot whenever a performer, instrument, input, monitor system, backline request, playback rig, or stage position changes. Put a date or version on every exported copy. Do not change the updated date merely to look fresh; change it when the operational information has actually been reviewed.
Frequently asked questions
Is a stage plot the same as a technical rider?
No. A stage plot is the physical diagram. A technical rider is the broader production document that also covers inputs, monitors, backline, PA, power, staffing, and other requirements.
Do small bands need a stage plot?
Yes. A duo or trio may need only a simple one-page plot, but it still prevents confusion about vocal mics, DI boxes, monitors, power, and performer positions.
Should a stage plot include channel numbers?
A few identifiers can help, but the complete numbered patch belongs on the input list. Keep the plot readable and make sure both documents agree.
Which direction is stage left?
Stage left is the performer’s left while facing the audience. The audience sees that as the right side of the stage.
Field workflow: turn the advice into a usable advance
A stage plot is an overhead physical map. It shows where performers, instruments, backline, microphones, DIs, monitors, risers, power, and special access needs belong. It does not replace the input list, technical rider, patch sheet, or system design; those documents answer different questions and should agree with the plot.
Use this workflow
- Set orientation and real stage dimensions.
- Place performers and large backline first.
- Add input and monitor positions.
- Label ownership, special power, and access constraints.
- Pair the plot with a matching input list and revision date.
Working example
A four-piece band plot might show drums upstage center, bass stage right, guitar stage left, lead vocal downstage center, three wedges, two backing-vocal positions, and a stage-right playback station. The input list then supplies the channel rows; the rider explains backline and monitor constraints.
Engineer’s note
Do not draw individual audio cables unless the route itself is a requirement. The plot communicates endpoints and placement. The local crew chooses safe cable paths around risers, fire exits, sightlines, and venue infrastructure after seeing the room.
Adapt it to the venue without losing the source of truth
Keep one master document for the traveling lineup, then make a deliberate venue or format revision when the stage, backline, channel capacity, monitor system, or performer count changes. Put the revision date in the file and on the page. If a venue proposes a substitution, record the accepted change in the advance thread instead of quietly turning it into a permanent requirement.
When resources are limited, reduce the plan in an agreed order. Protect the sources and outputs that carry timing, pitch, safety, and show control first; simplify preferences second. A tested mono playback feed, shared wedge plan, reduced drum-mic package, or alternate backline choice is useful only when the band has approved it before the changeover clock starts.
Run a two-minute production review
Read the finished package from the perspective of a technician meeting the act for the first time. Count the physical connections, identify the artist handoff points, trace private cues to their destinations, and separate facts from requests. Then compare the terminology across the plot, list, rider, cable labels, and email. A source with three different names becomes three separate troubleshooting questions.
After the show, capture only changes that will travel. Update the master for a new performer, instrument, output, monitor system, or permanent rig change. Leave one-night venue substitutions in the date notes. This keeps a useful local workaround from becoming inaccurate information on every future advance.
Final verification
- Orientation is explicit.
- Placement reflects the current lineup.
- Inputs match the list.
- The document has a revision date.
Ask someone who did not build the document to review it for two minutes. If they cannot identify the performers, inputs, monitor plan, ownership, and unresolved questions without coaching, revise the labels before sending it. A fast independent read is the closest rehearsal for how production will use the material.