Basics
How to Make a Stage Plot: A Step by Step Guide for Bands
Learn how to build a stage plot step by step, from mapping performer positions and inputs to sizing risers and exporting a PDF your venue and engineer can use.
By Stageplot Pro Editorial Team Updated
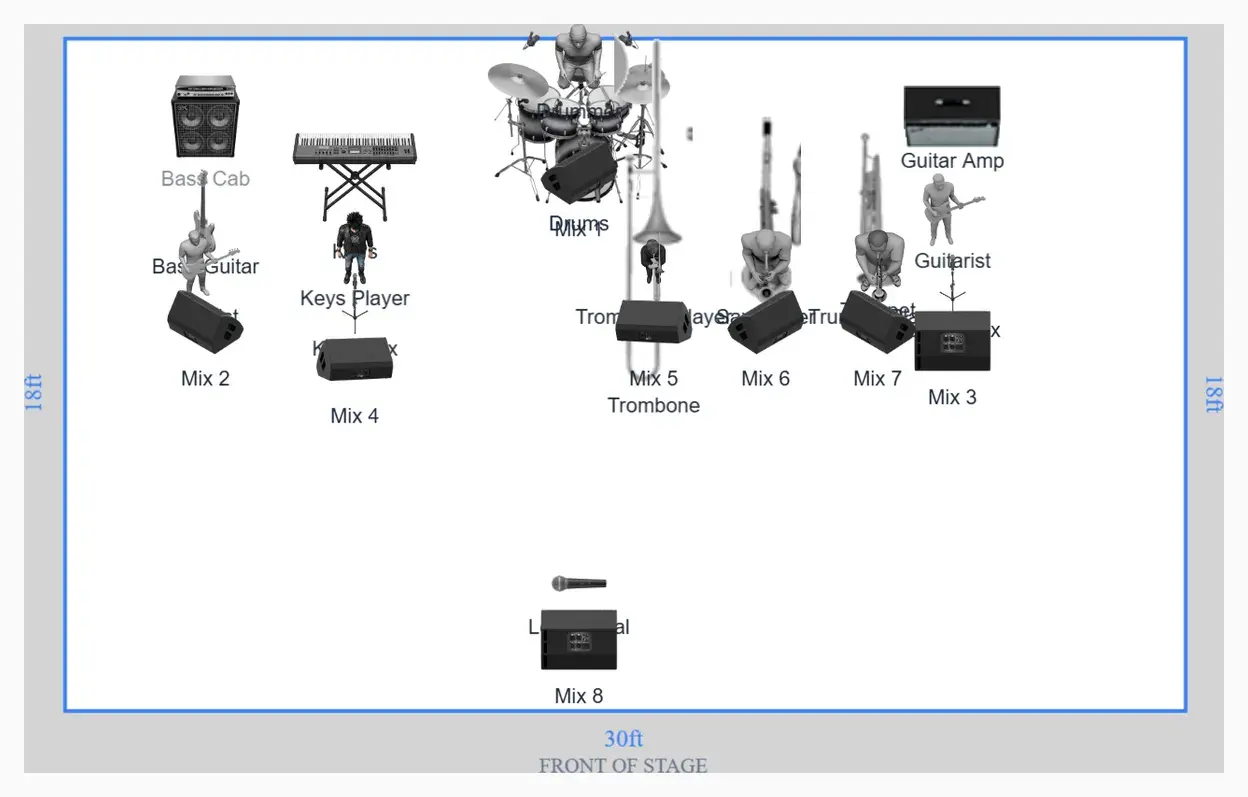
Start with what you actually bring
Before you drag a single icon, write down your real setup. Count performers, amps, drum kit pieces, keyboards, and anything that needs power or a mic. Bands that skip this step end up with a plot that looks clean but does not match what shows up at load in, and that mismatch is what causes an engineer to start pulling extra cable ten minutes before doors.
If your lineup is a standard configuration, browse the template library and start from the closest match instead of a blank canvas. A four piece rock band template already has the kit, guitar cab, bass rig, and vocal positions laid out, so you are editing instead of building from zero. For a stripped down set, the acoustic duo template starts you off with two mics and a couple of DIs instead of a full band layout you would otherwise have to delete pieces from.
Set your stage directions correctly
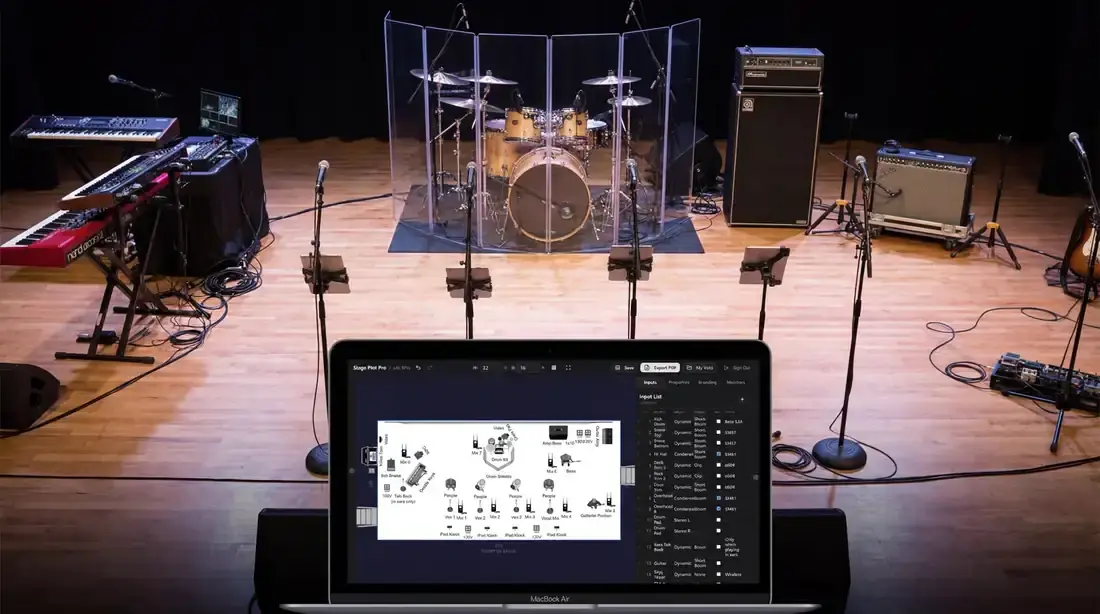
Stage left and stage right are always from the performer's point of view, facing the audience. This trips up more bands than anything else on a plot. If your guitarist stands facing the crowd, their left hand side is stage right, not stage left. Get this backwards and the monitor engineer patches wedges to the wrong side, which means your singer hears the guitar monitor and the guitarist hears nothing.
In the editor, place performers relative to the audience first, then fill in gear around them. Keep the drummer upstage centre unless you have a specific reason to move the kit, since that is the default an engineer expects to see and any deviation should be obvious on the plot, not something they discover on arrival.
Place mics, DIs, and monitors
Once your performers and backline are on the canvas, add every input source. That means vocal mics, instrument mics (a kick mic, snare top and bottom, overheads if the venue has the channel count), and DIs for anything that outputs a line level signal, like keys, acoustic-electric guitars, and bass. Add a monitor wedge or IEM pack per performer who needs one, not one wedge shared between two people unless that is genuinely your setup.
The stage plot editor builds your input list automatically from the icons you place. A guitar amp with a mic on it creates one channel. A DI box by itself does not create a channel, the instrument plugged into it does, so do not add a separate DI icon next to an instrument that is already generating its own input. If you are unsure when a DI is needed at all, the DI boxes explained guide walks through active versus passive DIs and which instruments actually need one.
Get your spacing and dimensions right
A plot that looks proportional on your screen is meaningless if it does not reflect the stage you are actually playing. A bar stage might be 12 feet wide and 8 feet deep. A club stage might run 20 by 16. A drum riser typically adds 8 inches of height and needs at least 6 by 8 feet of footprint for a standard five piece kit. If you do not know your dimensions, ask the venue or promoter before you finalize positions, not after. The stage dimensions guide has real numbers for common room sizes and riser heights so you can size your layout instead of guessing.
Leave real space between performers on the plot, at least 3 to 4 feet where possible. A plot with everyone crammed shoulder to shoulder does not give the engineer or the venue a chance to flag a problem before you arrive with a horn section that will not fit.
Label everything the way an engineer expects
Use plain, consistent labels. "Lead Vocal," "Guitar 1," "Guitar 2," "Bass DI," "Kick In," "Kick Out." Avoid inside jokes or band-specific nicknames for gear, because the person reading your plot at 4pm on show day has never met you and needs to patch fast. If two guitarists both play acoustic and electric during the set, note that on the plot or in your notes rather than assuming the engineer will guess from the diagram alone.
Export and share before you arrive
Once the layout is done, export a PDF and send the link to the venue, the promoter, or the house engineer as part of your advance. Sending it a week out instead of the morning of the show gives them time to flag a channel count problem, a missing DI, or a stage size mismatch while there is still time to fix it. If you are also submitting a full tech rider, your stage plot and input list are the two documents that actually get used at soundcheck, so make sure they are current, not a version from three lineup changes ago.
Mistakes that slow down your load in
A few patterns show up over and over on plots that cause real delays. A five piece band lists a drum riser but never confirms with the venue whether one exists, then discovers at load in that the stage has no riser and no time to source one. A plot shows a keyboard on a stand with no DI noted, so the engineer assumes it needs a mic and pulls the wrong gear. A band changes bass players between the plot being built and the show date, and nobody updates the input label from the old player's initials to the new one, so the engineer spends the line check trying to figure out whose channel is whose. None of these are hard to avoid, they just require treating the plot as the actual document the show runs on, not paperwork you file and forget.
Keep it current
Update your plot every time your gear or lineup changes. A stage plot from your last tour with a different bass player is worse than no stage plot at all, because it gives the engineer false confidence about what they are walking into. Treat it as a living document you revisit before every run of shows, not something you build once and forget.
Start building in the editor with a blank canvas or a template that is close to your setup, and you will have a plot ready to share in under fifteen minutes.
Frequently asked questions
Can I make a stage plot without design experience?
Yes. Start with the nearest band template, remove anything you do not carry, and reposition the remaining equipment to match the venue.
Should the audience be at the top or bottom?
Either convention can work if it is labeled clearly, but placing the audience at the bottom makes the page read naturally from upstage to downstage.
How detailed should the plot be?
Detailed enough to place performers, backline, inputs, monitors, risers, and major power needs. Put channel-level specifications in the input list instead of crowding the diagram.