Stage Plot Pro Team /
A Behind the Scenes Tour of the Monitor Mixes Feature
Place a wedge or an IEM pack on your stage plot and Stage Plot Pro builds the mix automatically. Here is how sends, levels, and labels work under the hood.
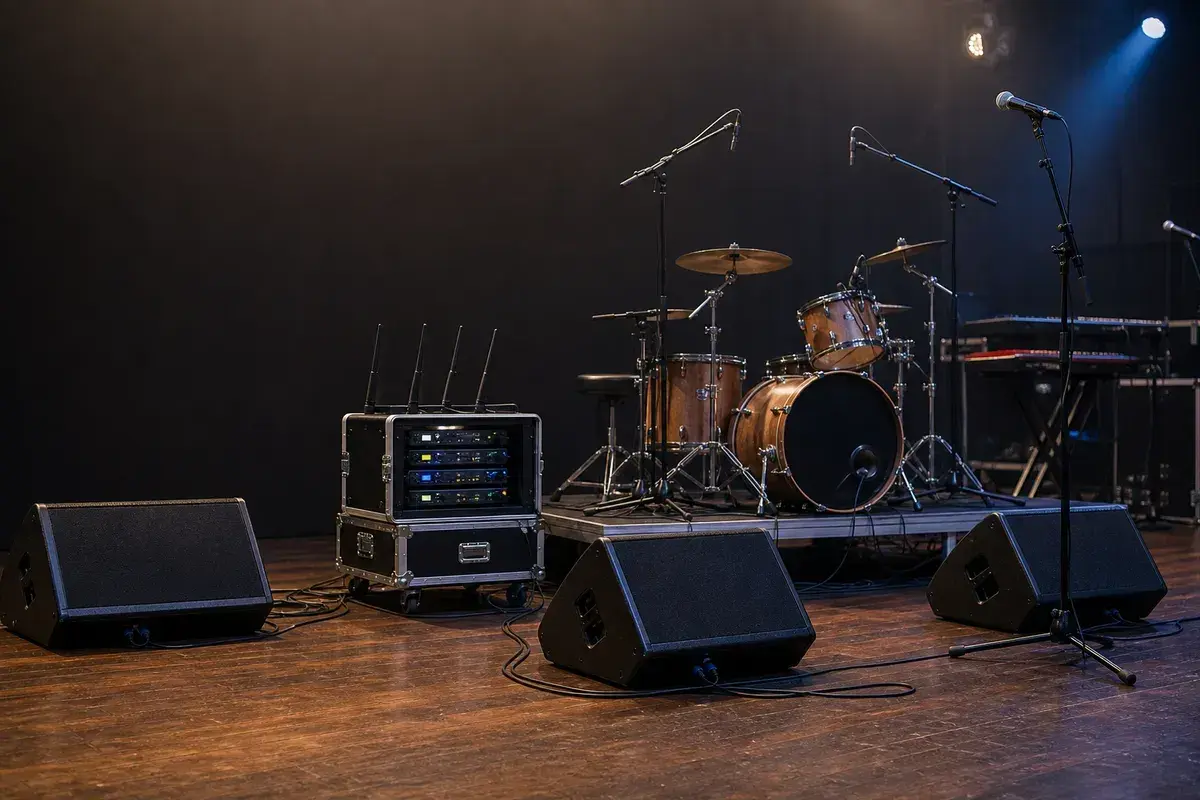
It starts with placing the icon, not filling out a form
Most stage plot tools treat monitor mixes as a separate document you build
after the diagram is done. We built it the other way around. Drop a
monitor icon from the Monitors category anywhere on your stage in the
editor and it becomes a mix automatically, no separate
setup step required. The mix panel picks it up, numbers it in the order
you placed it, and even guesses at the type from the icon label: anything
with "IEM" in the name gets tagged as an IEM mix, anything with "side" in
it gets tagged as a side fill, and everything else defaults to a wedge.
The mix panel is where you clean it up
Once a mix exists, the Monitor Mixes panel gives you a compact table:
label, assignee, type, and notes, all editable inline. If the
auto-generated label is not specific enough, click it and rename it, "Sarah
IEM" instead of just "Monitor 3." Assign a performer's name so the
engineer knows whose mix they are looking at. Reorder mixes by dragging
rows if you want the list to match stage order rather than placement
order. None of this touches the canvas, it is purely about making the list
readable for whoever ends up mixing monitors on the day.
Sends: picking what feeds each mix
Every mix has its own sends editor, a checklist of every row in your input
list with a toggle for whether that instrument feeds this particular mix.
Check the kick and bass for a drummer's wedge, leave vocals off it, and set
a level for each checked send on a -40 to 0 dB slider. If an instrument
gets removed from the stage plot after you have already built sends for
it, the mix panel does not silently drop that send. It flags it as
missing so you can decide whether to remove it or whether it was a
temporary placement, instead of quietly losing information you already
configured.
Zooming out with the send matrix
For bands with several mixes and a full input list, editing sends one mix
at a time can get slow. A send matrix view shows every input against every
monitor mix at once, so you can scan across a row and see which mixes a
given instrument feeds, or down a column and see everything one performer
needs. It includes a one-click option to auto-fill sensible starting
levels across the grid, which is a faster starting point than dialing in
every cell from -40 dB up.
Where it ends up
Monitor mixes are not just a planning artifact, they feed directly into
your exports. Your PDF includes the mix list alongside your input list,
and if your venue runs an X32 or M32, the sends you configured here carry
into the generated console file, covered in more detail in console
exports behind the scenes. The
goal is that the mix you planned at home is the mix your monitor engineer
is looking at on the console, not a rough approximation of it.
Try it on a real lineup
The fastest way to see this in practice is to build from a template with
more than one or two mixes already in play. A worship five
piece template or a ska six
piece template both place enough
performers and monitors that the panel actually has something to organize.
For the fuller picture on how monitor mixing works beyond the tool itself,
our monitor mix guide covers the engineering
side of building a good wedge or IEM mix from scratch.
A real-world production scenario
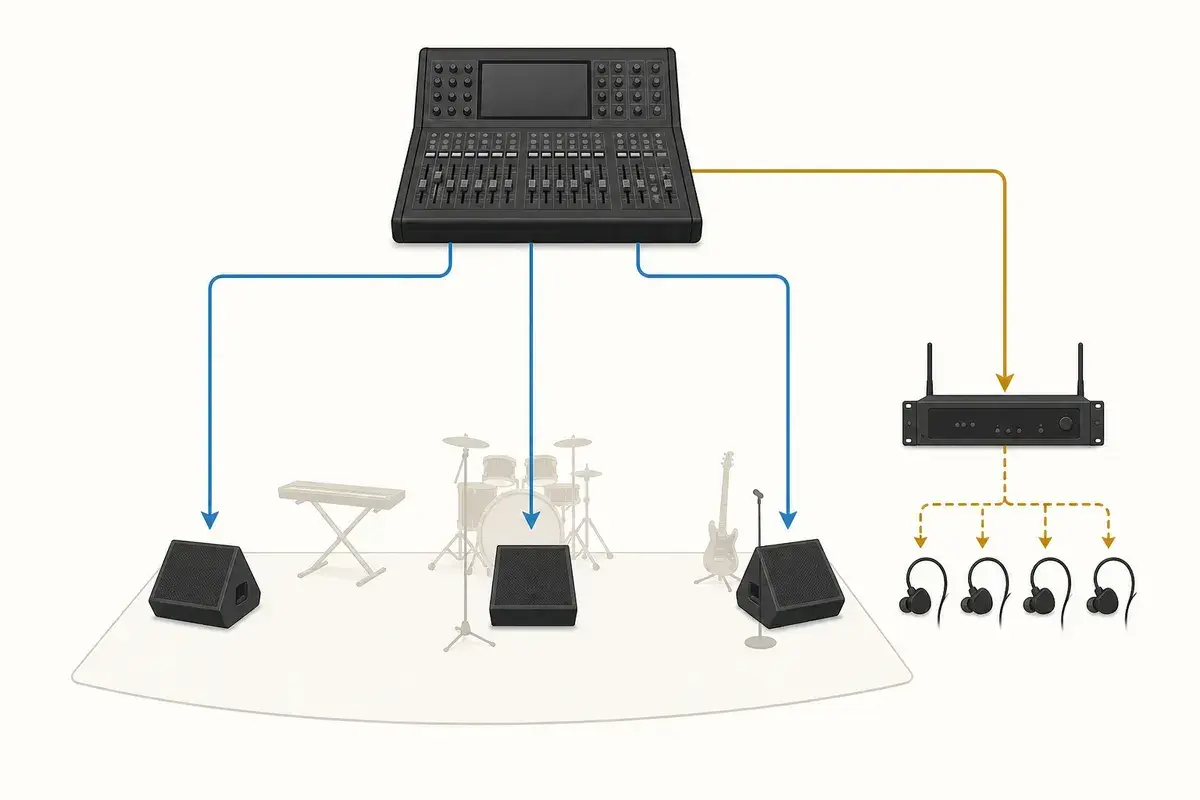
A monitor plan has two layers: physical output resources and musical priorities. Placing a wedge or IEM position establishes where a mix is needed, but the useful production information is the mix identity, output format, performer, and priority sources. The feature should help a band communicate that starting point without pretending to replace the engineer who must manage gain, feedback, stage volume, and the room.
A repeatable workflow
- Place each wedge, wired IEM feed, wireless IEM transmitter, or personal mixer at the performer position it serves.
- Use one consistent label across the plot, monitor request, and console notes: Mix 1 Lead Vocal, Mix 2 Guitar, and so on.
- List two to four priority sources per performer before adding “a little of everything.”
- Mark click, guide, cue, and talkback destinations explicitly so they cannot enter the audience mix by accident.
- Count outputs, remembering that stereo IEM consumes two outputs while one mono wedge mix consumes one.
The order matters. It moves from known facts to local decisions and leaves the room-dependent work with the people who can hear and inspect the system. Skipping directly to preferences is how a polished document becomes difficult to execute.
Decisions to settle before the show
- Which performers truly require independent mixes?
- Can a shared wedge mix work for adjacent players?
- Is an IEM request mono or stereo, wired or wireless, artist-supplied or house-supplied?
- Who needs click, guide, ambience microphones, or talkback?
If an answer depends on the venue, write the question and the preferred solution instead of presenting an assumption as a requirement. That gives production something concrete to confirm and prevents avoidable surprises at load-in.
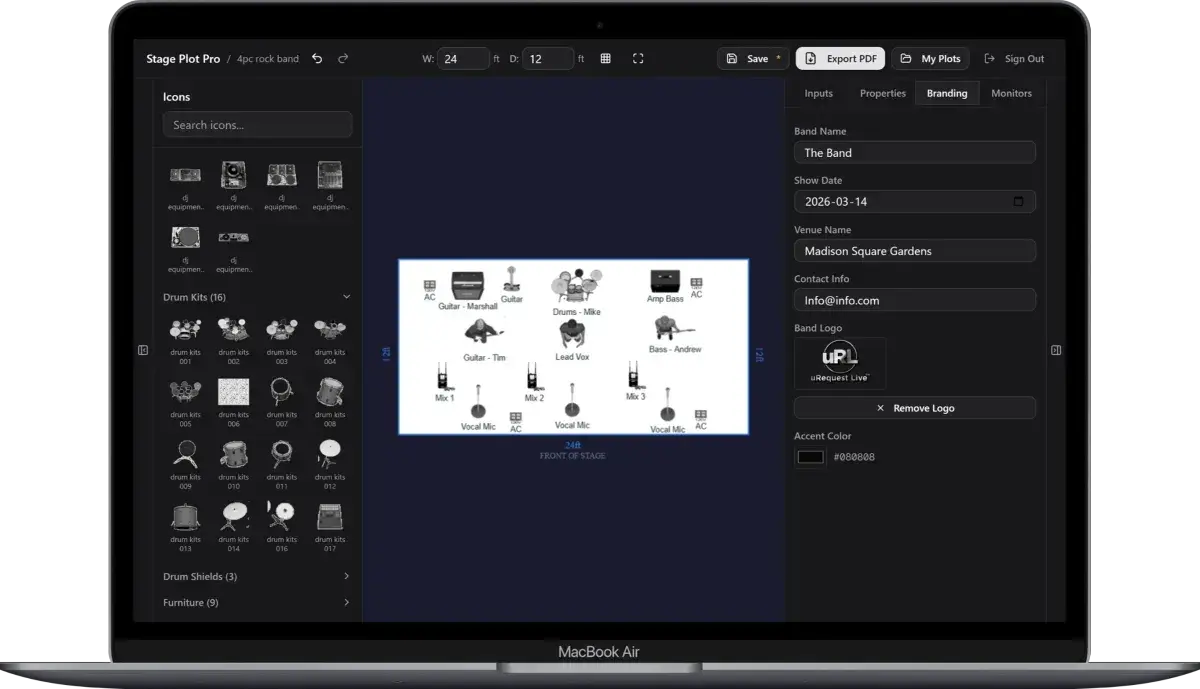
Make the handoff unambiguous
A monitor request should give the engineer a stable first pass, not freeze the mix before soundcheck. The most useful format names the output and priorities: “Mix 4, wired mono drum IEM: click first, then tracks, bass, lead vocal, and kick.” That single line communicates far more than a page of identical checkmarks across every source.
The final package should survive a quick read on a phone, a printed copy at the stage rack, and a conversation over intercom. Use current filenames, readable labels, and the same terminology everywhere. When the documents disagree, the crew has to stop and discover which version reflects the real show.
Prove the plan before load-in
Do a tabletop check with someone who did not build the document. Give them two minutes and ask them to explain the physical setup, count the required inputs and outputs, identify artist-supplied gear, and point to the first likely production question. Do not coach them through it. Every pause exposes a label, assumption, or missing relationship that will also slow a venue crew.
Then trace the workflow in signal-flow order. Start with the source, follow the connection to the stage input, confirm the console channel or destination, and finish at the required PA, monitor, recording, or show-control output. This catches a different class of mistake than proofreading. A document can be spelled perfectly while describing an impossible or incomplete route.
Control revisions like production equipment
Keep one master version, create deliberate venue-specific copies, and place the revision date where it remains visible after printing or separating pages. A descriptive filename with the band name, document type, and ISO date is easier to trust than a file called final-v2-new. When a last-minute change is unavoidable, state exactly what changed in the email instead of forcing production to compare two PDFs.
After the show, update the master only when the change will travel. A one-night local substitution belongs in the venue notes; a new keyboard, vocalist, playback output, or monitor system belongs in the master. That discipline keeps useful local compromises from quietly becoming false requirements on every future date.
Final preflight checklist
- Confirm the lineup, stage orientation, source count, monitor count, and ownership of all artist-supplied equipment.
- Compare the plot, input list, and rider for the same names and revision date.
- Identify substitutions and fallbacks before they become time-critical.
- Open every exported file once and check that text, images, and page breaks remain readable.
- Send one technical contact who can answer production questions promptly.