Input Lists
Live Sound Channel Order for a Practical Input List
Learn a practical live sound channel order for drums, bass, guitars, keys, tracks, vocals, and spares so your input list matches a clean console workflow.
By Stageplot Pro Editorial Team Updated
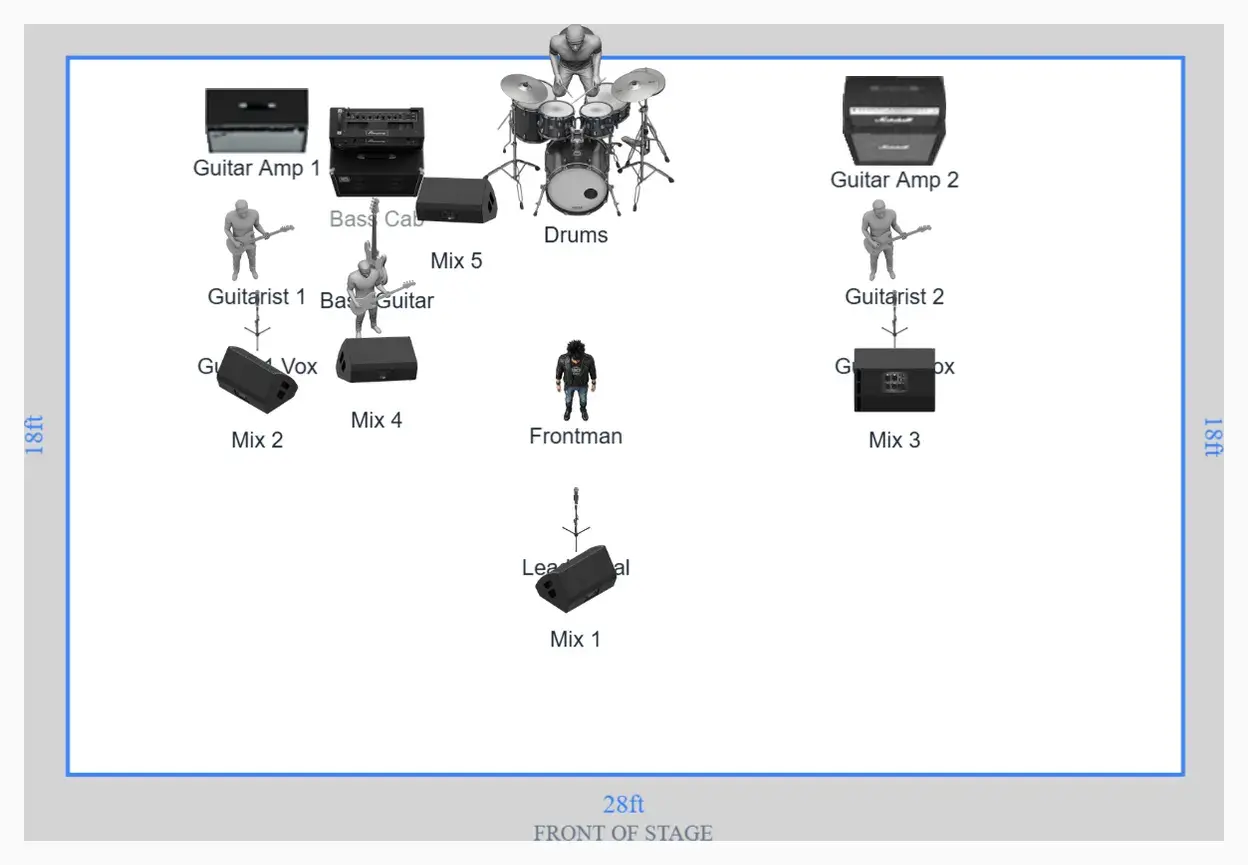
A common channel order
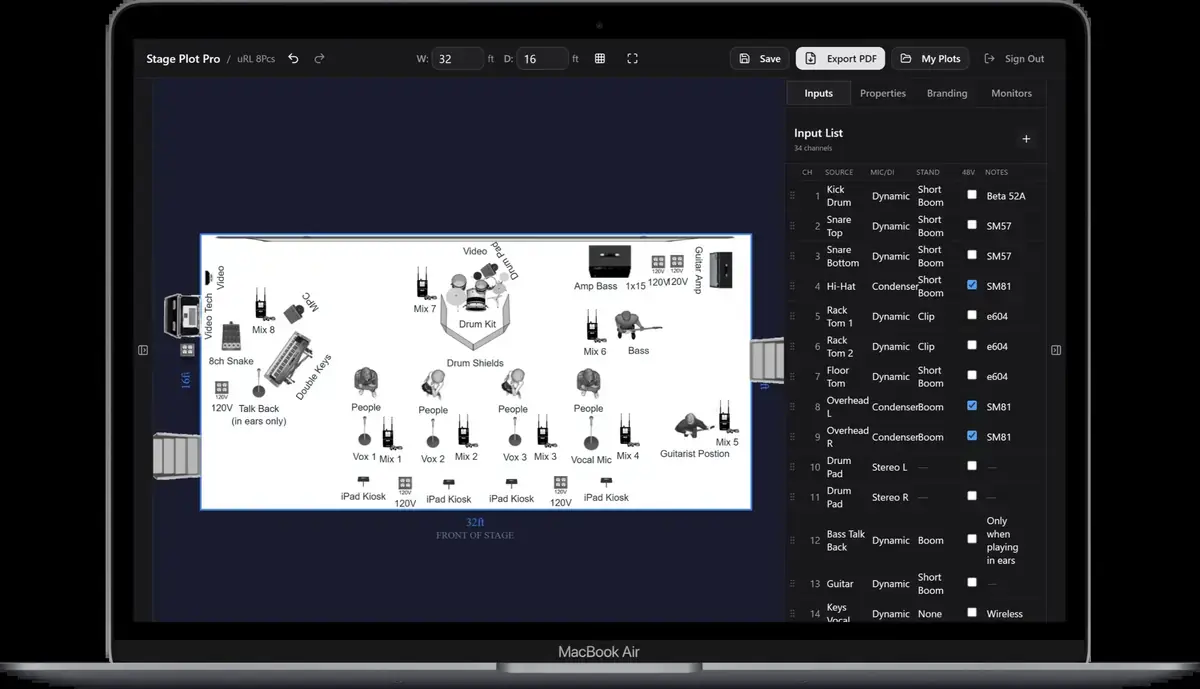
Many live-sound input lists begin with drums, then bass, guitars, keyboards, playback, acoustic instruments or horns, and vocals. Utility channels such as talkback, guest inputs, and spares usually follow. This order is common because it keeps related sources together and supports a line check that builds from rhythm section to vocals.
| Channel group | Typical sequence |
|---|---|
| Drums | Kick, snare, hi-hat, toms, overheads, ride, percussion |
| Bass | DI, then microphone if the rig uses both |
| Guitars | Stage-left guitar, stage-right guitar, acoustic DIs |
| Keys and playback | Keys L/R, tracks L/R, click, timecode or guide |
| Horns and strings | Grouped by section or stage position |
| Vocals | Lead, then backing vocals in a consistent stage order |
| Utility | Guest, talkback, audience, spare, playback returns |
Why drums usually come first
A drum kit can consume more channels than the rest of a small band combined. Keeping the complete kit together makes patching, console banking, DCA assignment, and line check easier. Within the kit, engineers vary: some put snare bottom immediately after snare top, while others place all close mics before cymbal mics. Either works when the list is clear.
Do not add channels merely because a standard template has them. A small club may use kick, snare, one rack tom, one floor tom, and a single overhead. A festival kit may carry several toms, hi-hat, ride, stereo overheads, and additional percussion. Match the real production.
Keep related outputs adjacent
Stereo keyboards, tracks, DJ mixers, samplers, and modelers should normally use
adjacent odd/even channel pairs. Label both sides explicitly (Keys L, Keys R) and note the mono fallback if the show can run on fewer channels.
When an instrument uses both DI and microphone, keep those channels next to each other. This makes phase checks, grouping, and troubleshooting faster than placing the DI near line sources and the microphone in an unrelated section.
Choose a consistent stage order
For repeated sources such as guitars, horns, or backing vocals, order them by a documented convention: stage left to stage right, player number, or musical section. Stage-left-to-stage-right ordering is easy to compare with the plot, but remember that stage directions use the performer's perspective.
Names can change between dates. Labels such as BGV 1 - stage left remain
useful even when a substitute singer steps into that position.
Account for monitor-only and utility inputs
Click, guide, timecode, MD talkback, crowd microphones, and communication channels may never enter the audience mix. They still need input channels and must be documented. Mark their destination or restriction in the notes rather than hiding them from the input list.
Leave spare channels only when the console and stage-box capacity actually support them. A listed spare is valuable when it is patched and ready; it is misleading when all physical inputs are already occupied.
When the house changes your order
Festivals and venues may use a fixed house patch to speed changeovers. Send your preferred order, but be prepared for the engineer to remap it. Clear source labels and a matching stage plot matter more than protecting channel 1 for a particular drum microphone.
Frequently asked questions
Do vocals always go last?
Vocals commonly follow instruments, but a house workflow may differ. Keep them together and document the final order clearly.
Should stereo pairs start on an odd channel?
Odd/even pairs are a useful console convention and often simplify stereo linking, but adjacent documented channels are the essential requirement.
Where should talkback and crowd microphones go?
Place utility and monitor-only channels after the main performance inputs unless the console template uses a dedicated section.
Field workflow: turn the advice into a usable advance
Channel order is an operating system for the show, not a universal law. The familiar sequence (drums, bass, guitars, keyboards, playback, vocals, utilities) keeps related sources together and helps engineers navigate quickly. A festival may impose a house patch, while a touring file may preserve a different order; consistency and documentation matter more than claiming one arrangement is always correct.
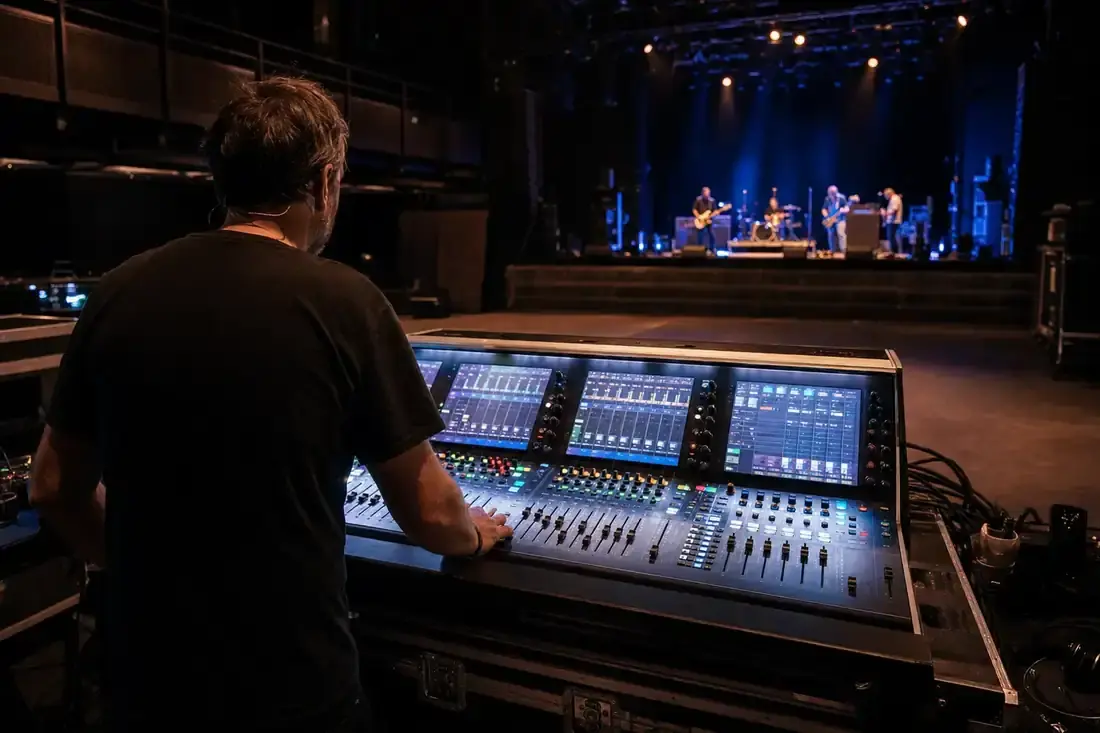
Use this workflow
- Group sources by instrument family.
- Keep stereo pairs and multi-mic instruments contiguous.
- Choose a repeatable performer order such as stage left to stage right.
- Place playback, talkback, ambience, and utility channels deliberately.
- Translate to the house patch without renaming the sources beyond recognition.
Working example
A four-piece rock band might use kick, snare, rack, floor, overhead L/R, bass DI, guitar stage left, guitar stage right, tracks L/R, lead vocal, and two backing vocals. The exact channel numbers can move, but the input list, loom labels, and console scribble strips should still describe the same sources.
Engineer’s note
Engineers often create custom layers or DCAs that make physical channel location less important during mixing. The patch order still matters during line check and fault finding. When a source is missing, a logical sequence lets the crew move from the nearest known-good channel instead of searching an arbitrary list.
Adapt it to the venue without losing the source of truth
Keep one master document for the traveling lineup, then make a deliberate venue or format revision when the stage, backline, channel capacity, monitor system, or performer count changes. Put the revision date in the file and on the page. If a venue proposes a substitution, record the accepted change in the advance thread instead of quietly turning it into a permanent requirement.
When resources are limited, reduce the plan in an agreed order. Protect the sources and outputs that carry timing, pitch, safety, and show control first; simplify preferences second. A tested mono playback feed, shared wedge plan, reduced drum-mic package, or alternate backline choice is useful only when the band has approved it before the changeover clock starts.
Run a two-minute production review
Read the finished package from the perspective of a technician meeting the act for the first time. Count the physical connections, identify the artist handoff points, trace private cues to their destinations, and separate facts from requests. Then compare the terminology across the plot, list, rider, cable labels, and email. A source with three different names becomes three separate troubleshooting questions.
After the show, capture only changes that will travel. Update the master for a new performer, instrument, output, monitor system, or permanent rig change. Leave one-night venue substitutions in the date notes. This keeps a useful local workaround from becoming inaccurate information on every future advance.
Final verification
- Related channels stay together.
- Left/right order is consistent.
- Utility channels are not hidden.
- Source names survive translation.
Ask someone who did not build the document to review it for two minutes. If they cannot identify the performers, inputs, monitor plan, ownership, and unresolved questions without coaching, revise the labels before sending it. A fast independent read is the closest rehearsal for how production will use the material.