Tech Riders
How to Write a Tech Rider Venues and Engineers Will Read
How to write a tech rider that gets read, covering stage plot, input list, backline, power, and monitor needs so advancing a show takes minutes, not days.
By Stageplot Pro Editorial Team Updated
What a tech rider is for
A tech rider tells the venue and the engineer exactly what your show needs before you arrive: stage layout, inputs, monitors, backline, and power. It is separate from a hospitality rider, which covers food, drinks, and green room requests. Bundling the two into one document is the fastest way to get your technical needs skimmed past or ignored entirely, because a promoter scanning for towel counts is not the person who patches your show. Keep them as two documents, even if you send them in the same email.
Lead with your stage plot and input list
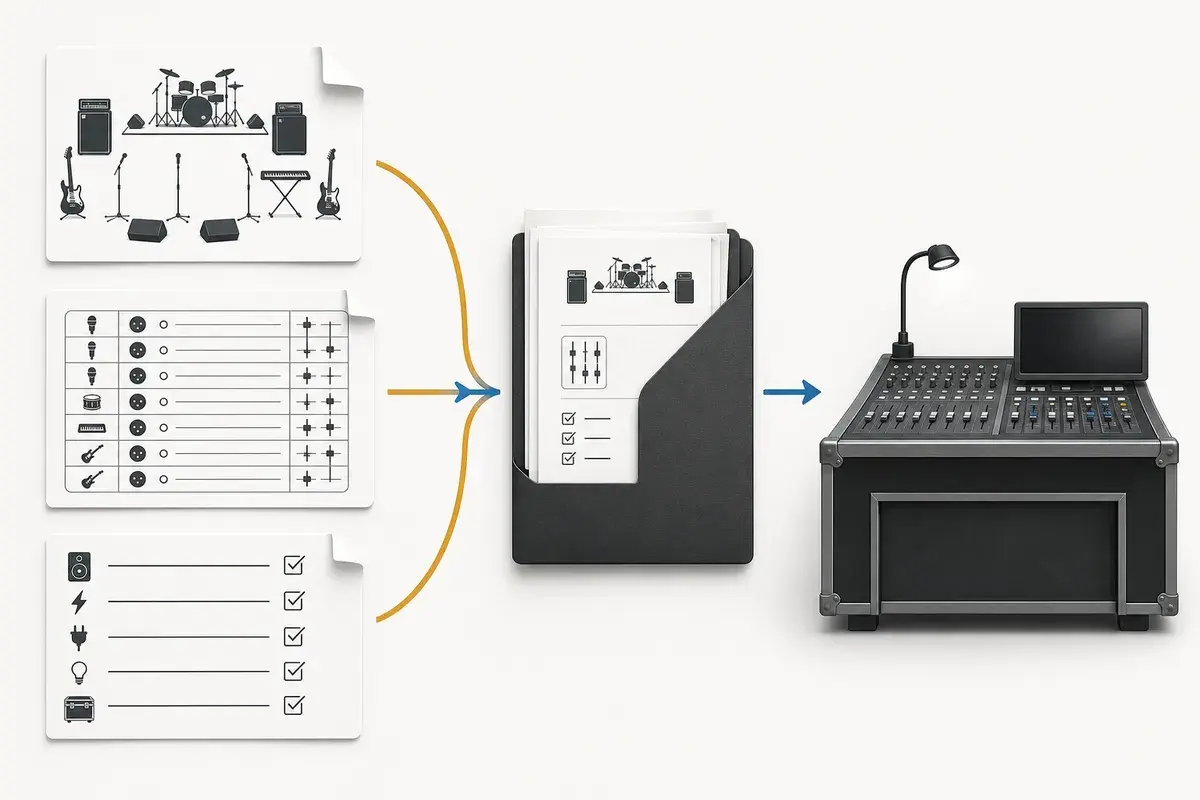
The two most useful pages in any tech rider are your stage plot and your input list. An engineer who has never worked with your band can look at a clear plot and list and know within a minute whether your show fits their room, their channel count, and their console. Put these first, not buried behind three pages of prose. If you build them in the editor, export both as PDFs and attach them directly rather than describing your setup in paragraph form and hoping it translates.
Backline and gear specifics
List what you are bringing and what you need the venue to provide, and be precise. "Guitar amp" is not useful. "1x60 watt combo, needs a mic'd cab, brings own head" is. If you need the venue's backline (a house kit, a bass rig, a keyboard), say so explicitly and ask for a spec sheet in return, because "the venue has a kit" can mean anything from a well maintained five piece to three mismatched drums nobody has tuned in a year. If a specific instrument in your set needs a DI, note it here too, and if you are unsure whether a given instrument needs one, the DI boxes explained guide covers exactly which gear requires it.
Power requirements
State your power needs plainly: how many standard outlets, whether you need a dedicated circuit for anything (a bass rig or a keyboard rig pulling real current benefits from its own circuit rather than sharing with lighting), and where on stage those drops need to land relative to your plot. Venues running older buildings sometimes only have two circuits reaching the stage at all, and finding that out during load in instead of during advance turns into an extension cord scramble that delays your set.
Monitor needs
Specify wedge count or IEM needs per performer, not just "monitors needed." If your drummer runs a click and needs isolation, say so. If two performers share a mix, say that too, rather than leaving the engineer to guess during a rushed line check. The monitor mix guide walks through what to actually ask for once you are in the room, but the rider is where you set expectations before you arrive so the engineer can build starting mixes ahead of time instead of from scratch.
Console and format notes
If you are handing an engineer a rider for a room you have not played before, it helps to note what console you are used to running on, since workflow varies a lot between platforms. Stageplot Pro can export console-ready patch files for a small set of supported consoles, currently Behringer X32 and Midas M32 scene files and Allen and Heath dLive and Avantis Director CSV files, with more platforms in progress. If the venue runs one of those consoles, attaching the export alongside your PDF plot saves the engineer from re-entering your channel list by hand. If they run something else, the PDF plot and input list still do the job, they just patch it manually.
Scale your rider to your band size
A rider for a country five piece with a fairly standard backline looks very different from one for a funk band with horns, where extra mic count, extra stage width for the horn section, and extra monitor mixes all need to be called out explicitly rather than left for the engineer to discover. Do not reuse a generic rider across lineups with different channel counts. A rider that overstates your needs gets deprioritized by a promoter comparing riders across a full night of acts, and a rider that understates them gets you a soundcheck that runs short on inputs.
Timing and load in
Note your load in time, how long you need for line check versus a full soundcheck, and set length. A rider that states "30 minutes for line check, 20 minute set, no soundcheck available before doors" tells the engineer exactly how to plan their day. Vague timing is one of the most common reasons a support act gets a rushed, unhappy line check instead of a real check.
A rider that actually gets read
Keep the technical rider itself short, one to two pages beyond the plot and input list. A wall of text does not get read closely, it gets skimmed for keywords, so lead with the details that change how the room is set up: channel count, monitor count, power needs, and stage footprint. Save anything conditional, like a backup plan if the venue cannot provide a piece of backline, for a short notes section at the end rather than mixing it into the main requirements, where it can get misread as a hard requirement instead of a fallback.
Keep it current and send it early
Send your rider at least a week before the show, not the morning of. A rider sent an hour before doors gets skimmed at best. Update it whenever your lineup or gear changes, since an outdated rider creates false confidence for the engineer, which is worse than sending nothing at all. Treat your rider, plot, and input list as one linked package that you keep current together, built and exported from the same source so they never drift apart.