Planning
Complete Stage Plot Checklist for Bands and Venues
Use this complete stage plot checklist to verify performer positions, inputs, monitors, power, stage dimensions, contact details, and venue-ready delivery.
By Stageplot Pro Editorial Team Updated
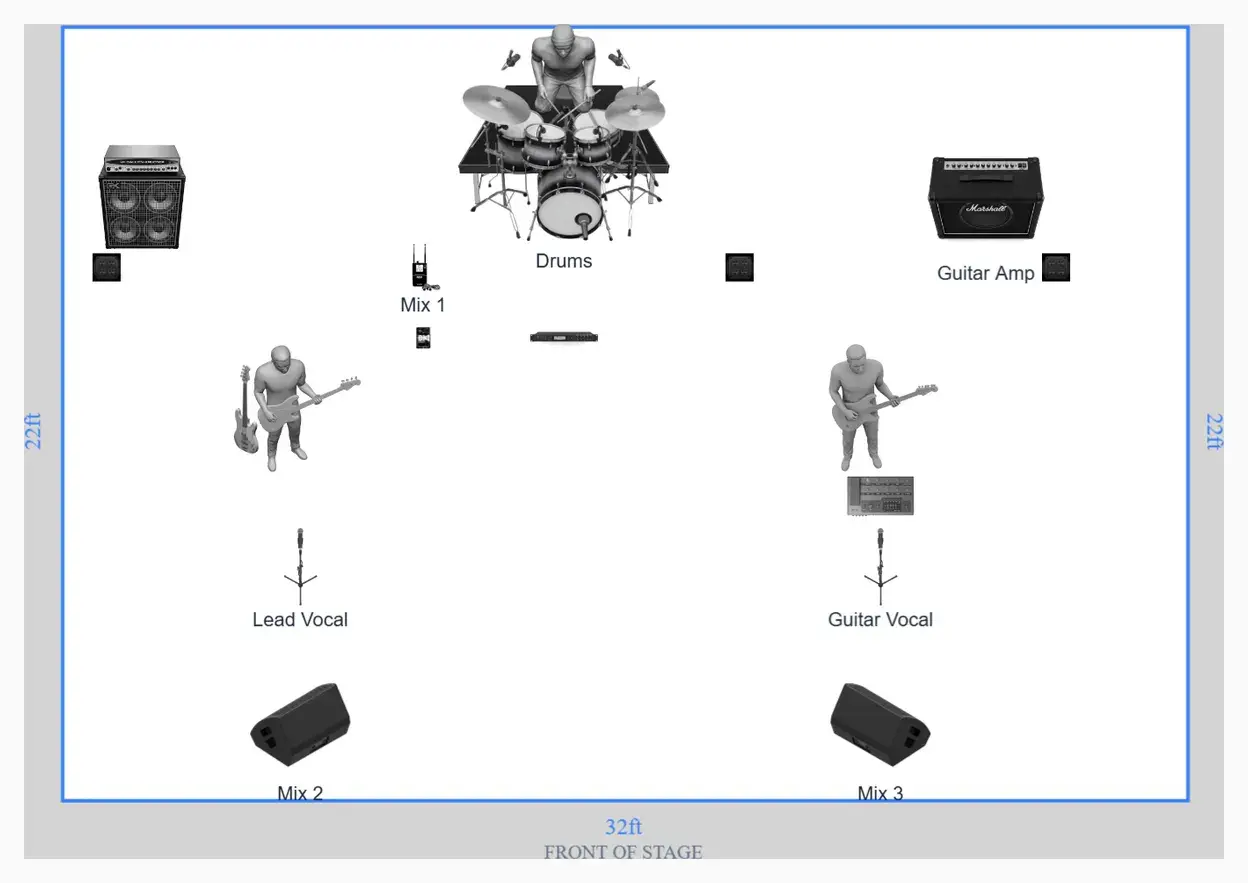
Identity and document control
Put the band or artist name where it remains visible when the page is printed. Include the show date, venue, primary production contact, email or phone number, and a revision date. If you maintain different festival, club, fly-date, and full-production versions, name the version explicitly.
A file named stageplot-final-new-2.pdf is not document control. Use a useful
name such as Artist-Venue-2026-07-25-stage-plot-v3.pdf, and replace the old
share link or file when the show changes.
Orientation and stage footprint
- Mark the audience-facing edge.
- Label upstage, downstage, stage left, and stage right.
- Enter the usable stage width and depth.
- Show any risers with width, depth, and height.
- Leave clear walkways, stairs, egress, and crew work areas.
- Confirm that doors and loading paths can accommodate large cases and backline.
Remember that stage left and stage right are always from the performer's point of view. Use the stage direction guide if anyone in the band is likely to mirror the layout.
Performers and backline
Every performer needs a clear position and a label that will still make sense to
a substitute engineer. Roles such as Lead vocal, Guitar, and Keys 1 are
usually more durable than initials alone.
Show instruments, amplifiers, drum configuration, keyboards, DJ or playback rigs, pedalboards, stools, music stands, risers, and supplied backline. State whether an item is artist-provided or requested from the venue in the technical rider, not through ambiguous icon colour.
Audio inputs
For each audio source, confirm that the plot shows the correct connection:
- Microphone on acoustic source or amplifier
- DI for bass, acoustic instruments, keyboards, or playback where appropriate
- Stereo pair when two independent outputs are actually required
- Click, guide, timecode, or talkback outputs that must not reach the audience
- Wireless receiver or instrument rack location when it affects patching
Then compare the count with the input list. A plot with twelve sources and a fourteen-channel input list needs an explanation.
Monitors and communication
Show every wedge, IEM position, side fill, or personal monitor station. Give each mix a number or name and use the same identifier in the input list or monitor notes. Mark talkback, shout, cue, or production communication positions when the show depends on them.
Do not draw one generic wedge in front of the band and assume the venue will understand. Monitor placement is part of the stage layout, especially when vocal microphone rejection and available mix count matter.
Power and special requirements
Document artist power drops for backline, pedalboards, keyboards, computers, wireless racks, and charging stations. A stage plot can show the approximate location; the rider should state voltage, connector, and any unusual current or isolation requirement. Never treat a household power bar as a substitute for a venue-approved distribution plan.
Add notes for smoke, haze, rolling risers, heavy scenic items, accessibility needs, unusual cable paths, or anything that changes how the crew builds the stage.
Delivery check
| Before sending | Pass condition |
|---|---|
| Readable at normal size | Labels are legible on a laptop and printed page |
| Current lineup | Every person and source matches this show |
| Input-list match | Counts, labels, stereo pairs, and monitor numbers agree |
| Venue fit | The arrangement fits the confirmed usable dimensions |
| Useful filename | Artist, venue or date, document type, and revision are identifiable |
| Sent early | The venue receives it before the advance deadline |
Frequently asked questions
How often should a stage plot be updated?
Review it before every advance and update it whenever the lineup, equipment, inputs, monitors, backline, or positions change.
Should power appear on a stage plot?
Show approximate power-drop locations when they affect setup. Put voltage, current, connector, and distribution requirements in the technical rider.
Does every cable need to be drawn?
No. Draw connections that clarify the setup, but avoid turning the plot into an unreadable wiring schematic. Detailed channel routing belongs in the input list and patch notes.
Field workflow: turn the advice into a usable advance
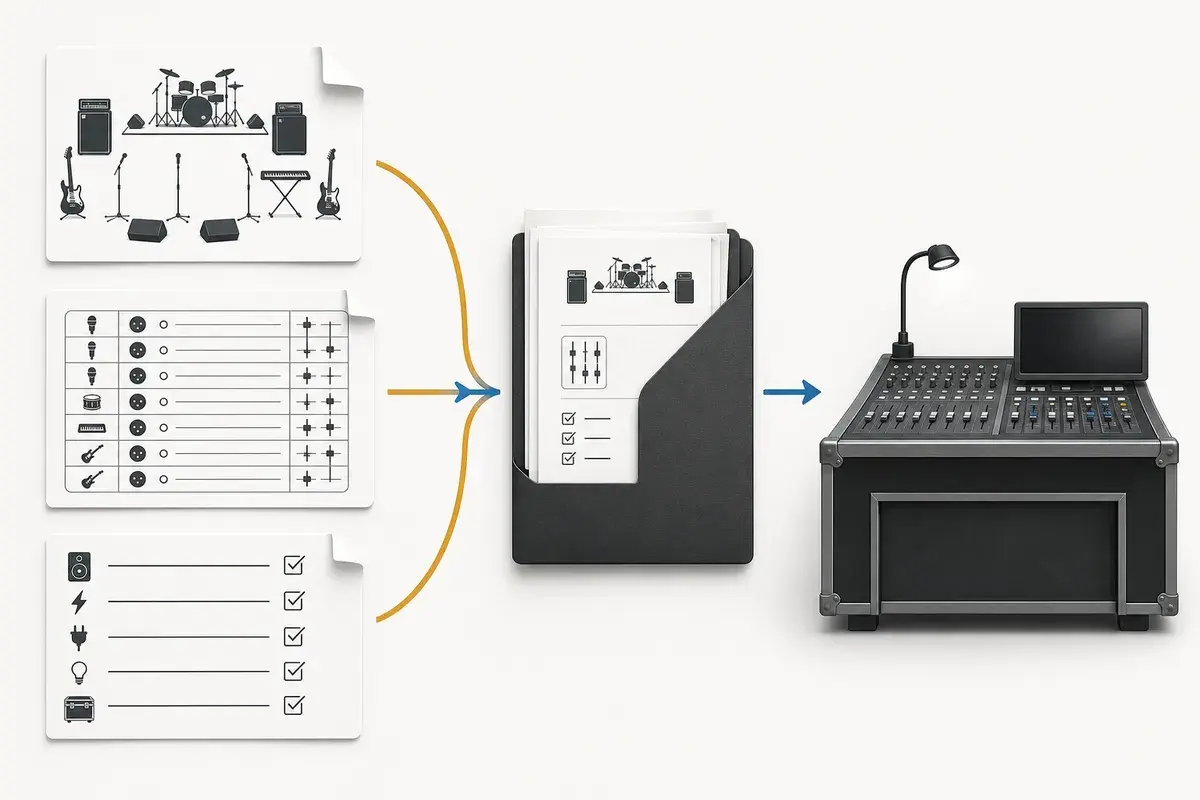
The final checklist is a cross-document comparison, not a spelling pass. Count performers, vocals, DIs, playback outputs, monitor mixes, risers, and special power needs on the plot, then confirm the input list and rider describe the same show. A mismatch found before sending is cheap; the same mismatch discovered during line check consumes crew time and trust.
Use this workflow
- Confirm title, lineup, venue version, date, and orientation.
- Count every physical input and stereo pair.
- Match monitor labels and output formats.
- Separate artist-supplied from requested house equipment.
- Open the exported PDF on screen and print-preview it.
Working example
If the plot shows three vocal positions, the input list should contain three corresponding vocal rows and the monitor request should identify the relevant mixes. If the rider mentions stereo tracks, the input list should expose two program channels and the plot should show the playback handoff point.
Engineer’s note
Treat preferences and hard constraints differently. A preferred microphone can often be substituted; an instrument that requires phantom power, an isolated playback output, or a performer who must receive click is a functional constraint. Clear wording lets the engineer preserve the show while adapting to local inventory.
Adapt it to the venue without losing the source of truth
Keep one master document for the traveling lineup, then make a deliberate venue or format revision when the stage, backline, channel capacity, monitor system, or performer count changes. Put the revision date in the file and on the page. If a venue proposes a substitution, record the accepted change in the advance thread instead of quietly turning it into a permanent requirement.
When resources are limited, reduce the plan in an agreed order. Protect the sources and outputs that carry timing, pitch, safety, and show control first; simplify preferences second. A tested mono playback feed, shared wedge plan, reduced drum-mic package, or alternate backline choice is useful only when the band has approved it before the changeover clock starts.
Run a two-minute production review
Read the finished package from the perspective of a technician meeting the act for the first time. Count the physical connections, identify the artist handoff points, trace private cues to their destinations, and separate facts from requests. Then compare the terminology across the plot, list, rider, cable labels, and email. A source with three different names becomes three separate troubleshooting questions.
After the show, capture only changes that will travel. Update the master for a new performer, instrument, output, monitor system, or permanent rig change. Leave one-night venue substitutions in the date notes. This keeps a useful local workaround from becoming inaccurate information on every future advance.
Final verification
- All counts agree.
- Revision is obvious.
- Labels remain readable.
- Requests and requirements are distinct.
Ask someone who did not build the document to review it for two minutes. If they cannot identify the performers, inputs, monitor plan, ownership, and unresolved questions without coaching, revise the labels before sending it. A fast independent read is the closest rehearsal for how production will use the material.